Creative and Functional DIY Wall Shelves: A Step-by-Step Guide to Transform Your Space
Looking to add style and functionality to your home without breaking the bank? DIY wall shelves are the perfect solution. Whether you’re working with limited space or simply want to showcase some of your favorite decor, wall shelves offer both practicality and personality.
The best part? You don’t need to be a seasoned pro to tackle this project. With a few tools, some creativity, and a little patience, you can easily transform any empty wall into a stylish and functional focal point.
Why DIY Wall Shelves?
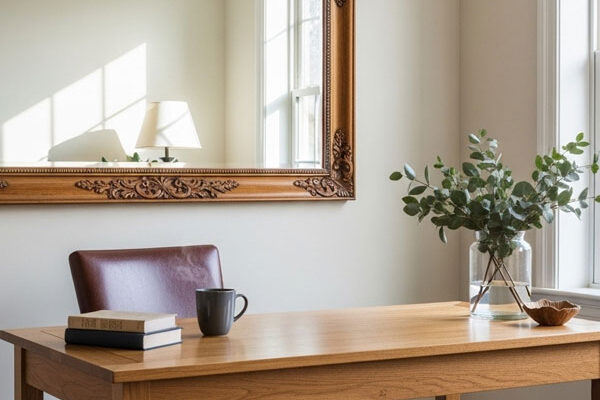
DIY wall shelves are not just about adding storage—they’re a chance to bring your unique style into the room. Whether you’re organizing books, displaying plants, or showing off personal treasures, shelves help you make the most of your wall space. Plus, building them yourself means you get to customize the design to fit perfectly with your room’s aesthetic.
Whether you prefer a rustic look or a modern, minimalist vibe, DIY shelves give you the creative freedom to make your vision a reality.
What You’ll Need
Here’s what you’ll need to get started:
- Wooden boards (plywood, pine, or reclaimed wood work great)
- Shelf brackets (choose between metal, wood, or floating brackets)
- Screws and wall anchors
- Drill and drill bits
- Measuring tape
- Level
- Sandpaper
- Paint or wood stain (optional for a custom finish)
- Screwdriver
- Stud Finder (for added stability when mounting shelves)
Step 1: Measure and Plan
The first step in your DIY project is to measure the wall space where you’ll install your shelves. Take note of the width and height you want for your shelves and consider how much space you need between each shelf. A good rule of thumb is to leave 12–18 inches between shelves, but this can be adjusted depending on the items you’ll display.
For a more visual approach, sketching out your design on paper or using an app can help you better picture how the final result will look. This also makes it easier to figure out how many shelves you’ll need.
Step 2: Choose Your Materials
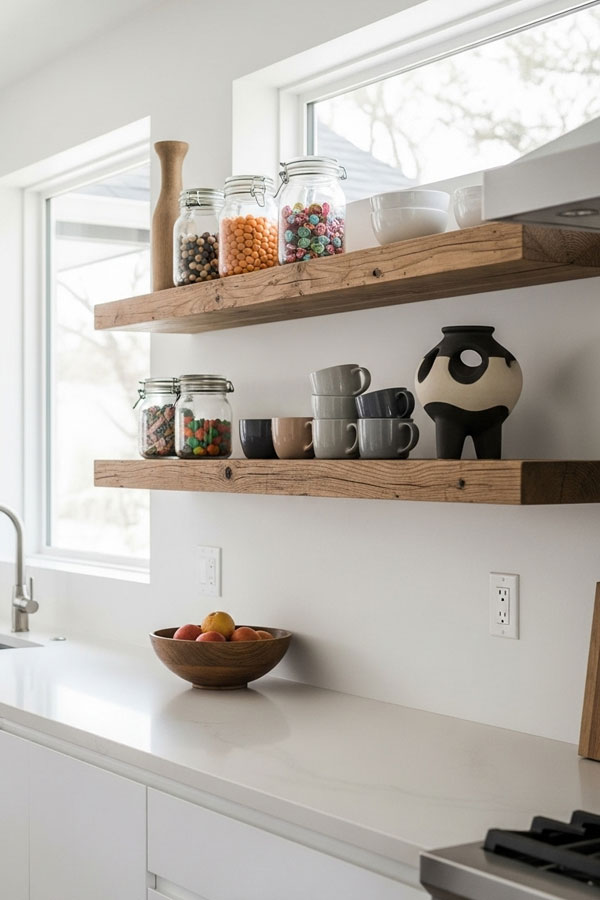
Selecting the right materials will set the tone for your shelves. If you love rustic charm, reclaimed wood is perfect. For a modern, clean look, consider plywood or pine boards that can be painted or stained to fit your room’s aesthetic. The choice of brackets will also impact the final design. Opt for traditional visible brackets for a more industrial vibe or floating brackets for a sleek, minimalist appearance.
Step 3: Install the Brackets
When you have your materials, it’s time to start installing the brackets. Begin by using a stud finder to pinpoint the studs in the wall, which will provide the best support for your shelves. If the studs are out of alignment with where you want the shelves, simply use wall anchors to ensure the brackets are firmly attached.
Next, use a level to mark the exact spots where the brackets will be mounted. Accurate measurements are key to ensuring that your shelves are straight. Drill pilot holes, then attach the brackets securely with screws. If you’re installing floating shelves, follow the bracket manufacturer’s instructions for precise installation.
Step 4: Sand and Finish the Shelves
Before you place your shelves on the brackets, take some time to smooth the edges and surfaces. Sanding the wood will give it a professional, polished finish. Once the shelves are sanded smooth, you can choose whether to apply paint or a stain to enhance the look. A natural wood stain can highlight the grain, while a coat of paint can help the shelves blend seamlessly into your room’s color scheme.
Let the paint or stain dry completely before moving on to the next step.
Step 5: Place the Shelves
Now that your brackets are up and your shelves are ready, carefully place the shelves onto the brackets. Check that everything is level and aligned correctly. If you’re opting for floating shelves, make sure the supports are securely fastened before attaching the shelves to the wall.
Step back and take in your work—you’ve just created a space-saving feature that’s both functional and stylish!
Step 6: Style Your Shelves
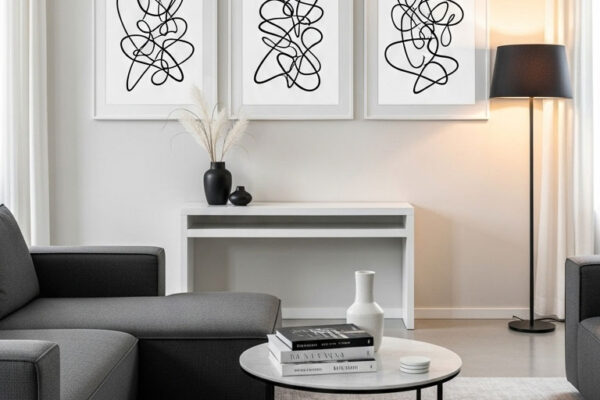
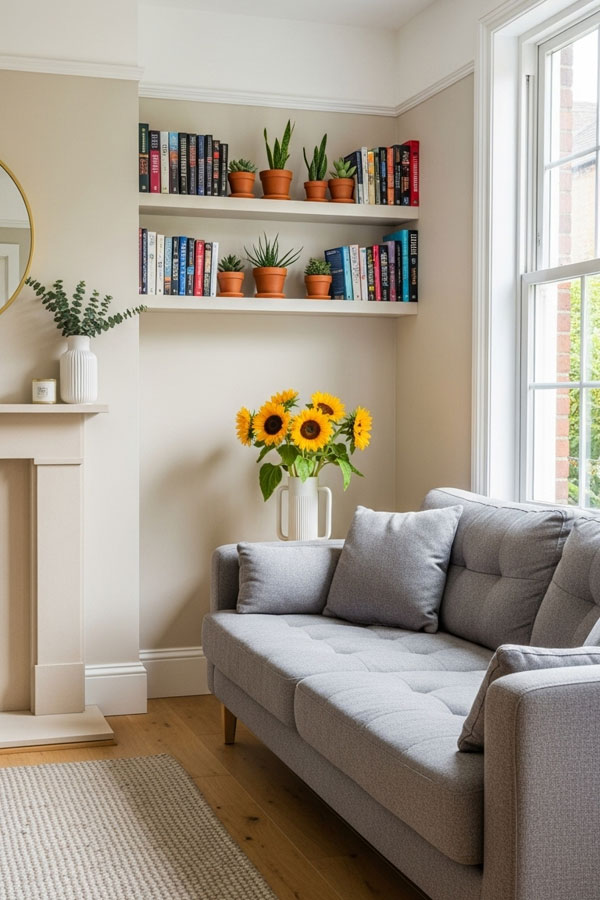
This is the fun part—styling your newly installed shelves! DIY wall shelves give you the perfect opportunity to show off your personal style. Arrange books, plants, artwork, or even unique decorative items. Mix and match different textures, heights, and materials for an eclectic look, or keep it minimalistic for a cleaner, more modern feel.
Don’t be afraid to experiment with different displays. Stack books, place potted plants at varying heights, or mix in some decorative sculptures or framed photos. The key is to create a display that feels balanced, but also uniquely yours.
Extra Tips for DIY Wall Shelves
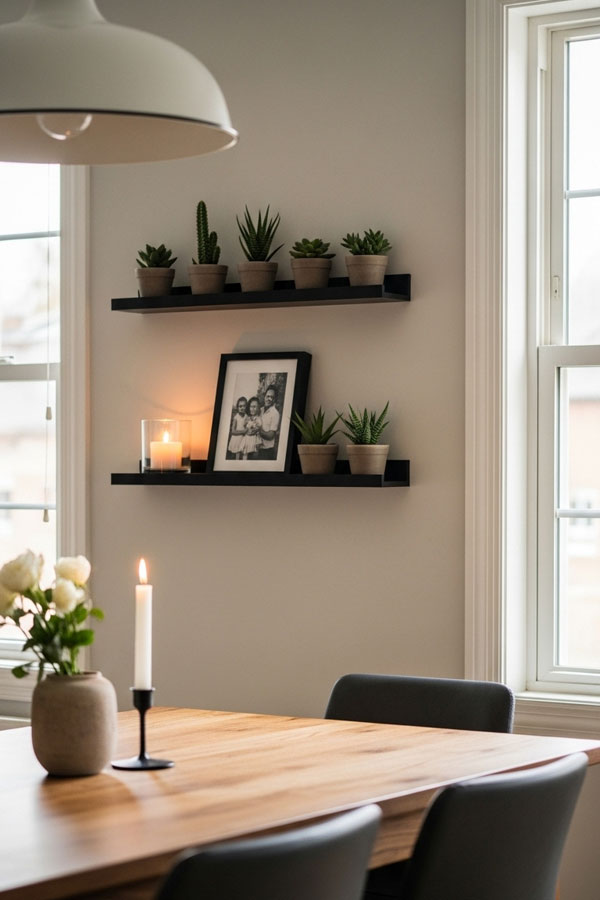
- Floating Shelves for a Modern Look: Floating shelves create a clean, minimalist aesthetic that’s perfect for contemporary spaces. They’re ideal if you want to keep the focus on the items you’re displaying.
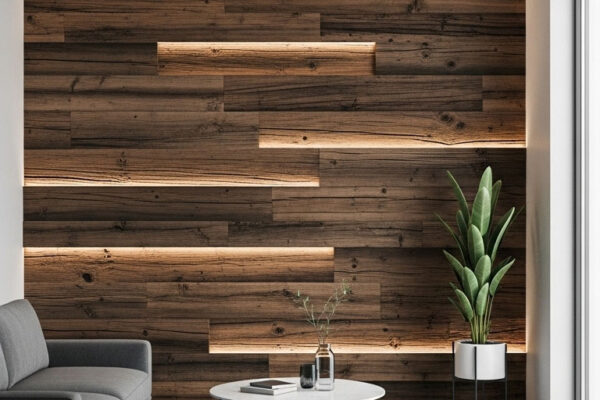
- Add Lighting: Consider installing under-shelf lighting to highlight your decor. LED strips or battery-operated lights are an easy way to add a warm, inviting glow to your shelves.
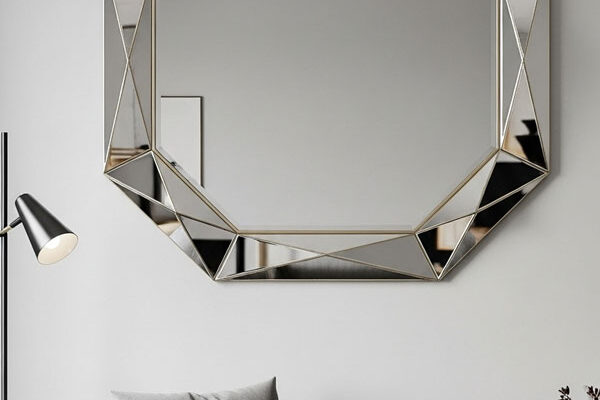
- Play with Shapes: If you’re feeling adventurous, try unconventional shelf shapes. Round or angular shelves can add a unique twist and make your display even more eye-catching.
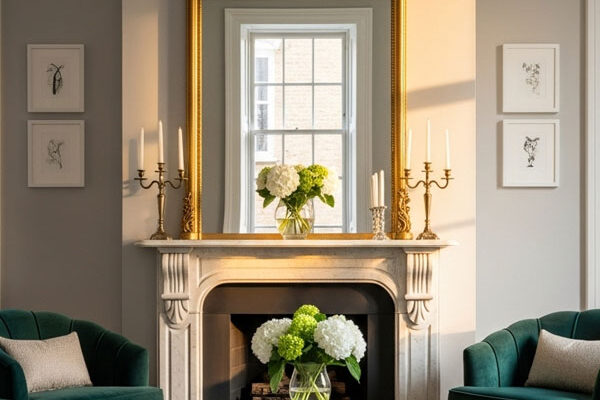
- Personalize Your Display: Make your shelves reflect your personality by showcasing items that tell your story. Whether it’s vintage finds, family photos, or your favorite books, your shelves should feel like an extension of you.
Conclusion
DIY wall shelves are a fantastic way to enhance both the functionality and aesthetics of your home. With just a few basic tools and a little creativity, you can create shelves that add personality, maximize space, and elevate the look of any room.
Whether you’re a beginner or an experienced DIYer, this project is accessible, rewarding, and completely customizable. So grab your materials and start building—your walls are ready for a makeover!